Table of Contents (click to expand)
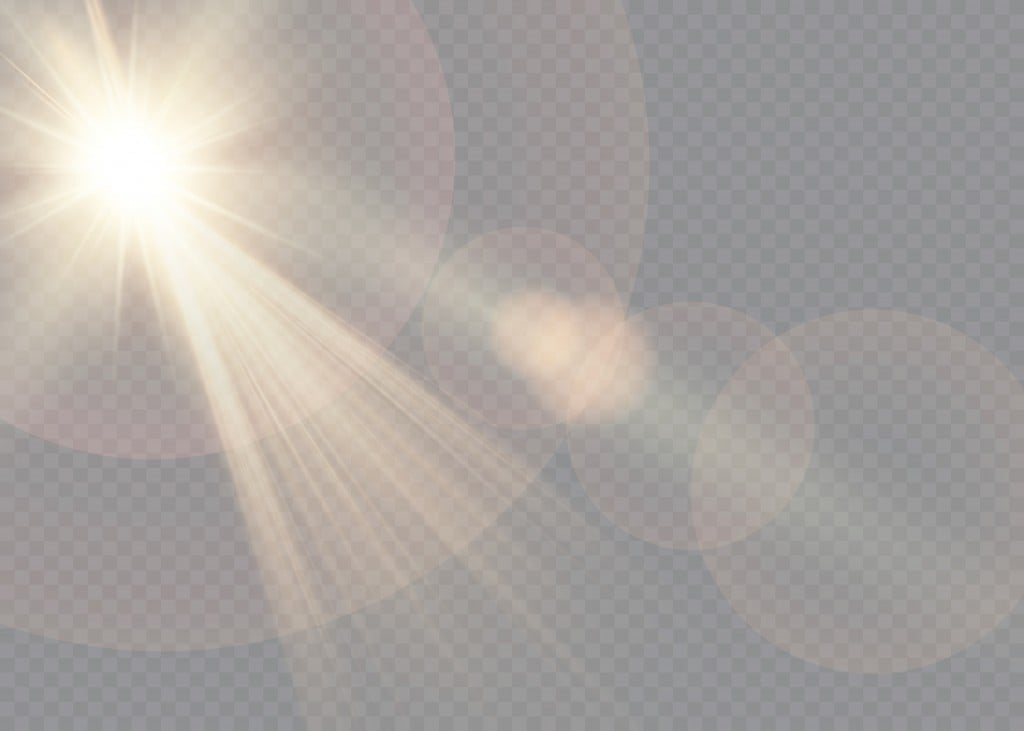
Lens Flare ruins images by adding whitewash and colorful spirals. Sparse use can make an image look realistic and dramatic.
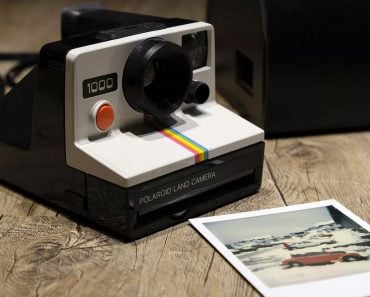
Taking a picture often requires nothing more than pointing and shooting, so a person needs very little preparation or technical knowledge about photography. The cameras in our phones have become so amazing that even a half-hearted click with the right settings can produce what seems like a masterpiece. You simply need to make sure the composition is right, the object is correctly centered in the frame and, of course, think up the quirky caption to use when you post it.
However, sometimes things go awry, especially when taking a picture in front of the sun. You point your camera to shoot the beautiful green trees and the sun setting between them, with the birds flying above, but the sun has other intentions. Light floods the photo, completely ruining your attempt to capture nature’s tranquility.
These red and yellow circular and polygonal patches backed by rays of overexposed light are called lens flares. They are equal parts annoying and artistic, as too many can ruin a photo, while just the right amount can add that tinge of special sparkle. Knowing what they are and how to use them properly can enhance any picture—with or without the sun—and will also make your photos stand out with the occasional dramatic flare.
Recommended Video for you:
How Is Lens Flare Formed?
Lens flare is a phenomenon where light scatters in response to a bright light, which leaves several starbursts, rings, or circles in a row across an image or visual field.
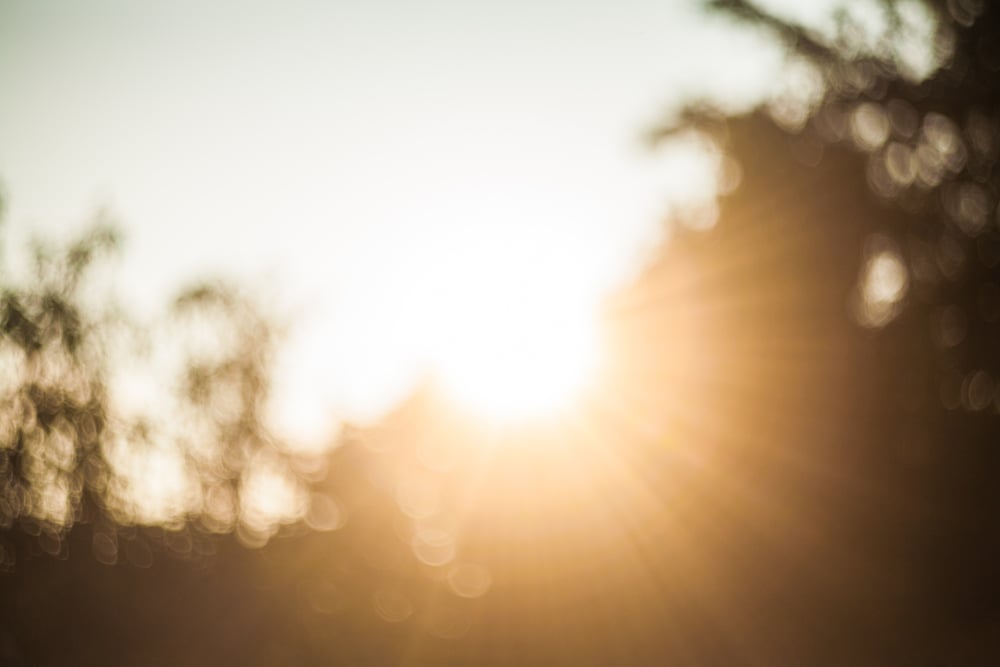
Flares are caused by very bright light sources and typically occur when shooting in the sun, but they’re also seen when heavy background light is used in studios. They manifest in two different ways—a yellowish-white haze across the image and as visible geometric artifacts, such as polygons and circles.
The haze tends to reduce the contrast and saturation of the image, giving it a washed-out look, while simultaneously diminishing all the details. The image feels overexposed due to the haze, and the dark areas are lightened due to the washed out effect.
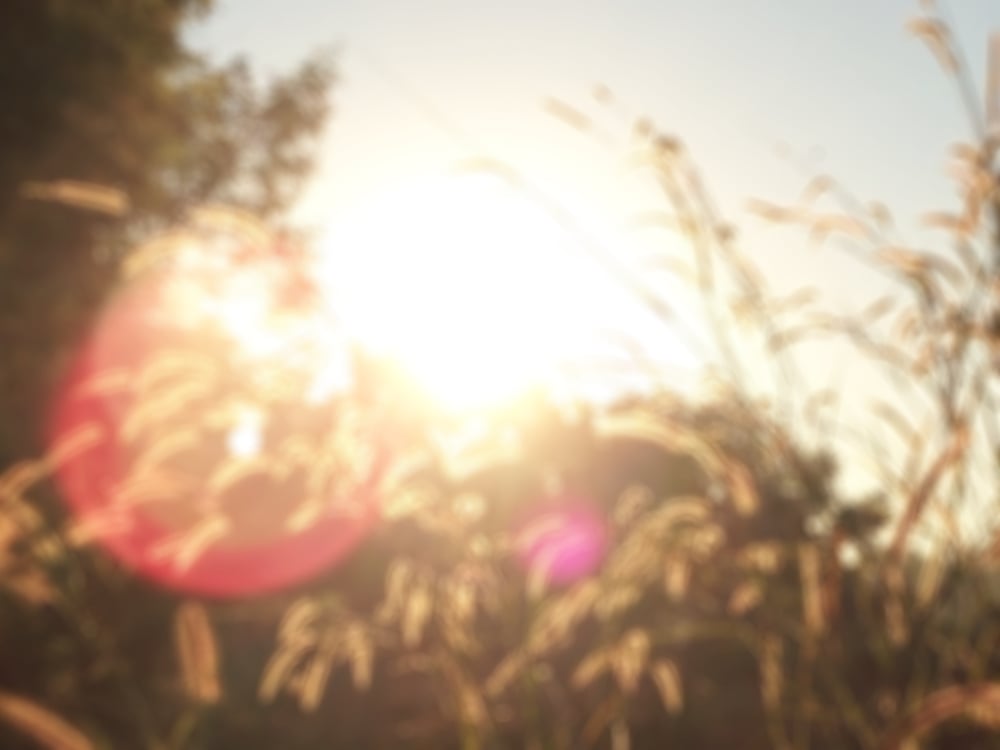
The geometric artifacts are the reflections from the lens surface, and form in the shape of the lens iris. The artifacts follow the pathway through the lens, creating a translucent impression on the image. These colorful spirals appear more commonly in cameras that have extended zooms attached, as there are more surfaces for the light to interact with and for internal scattering to appear.
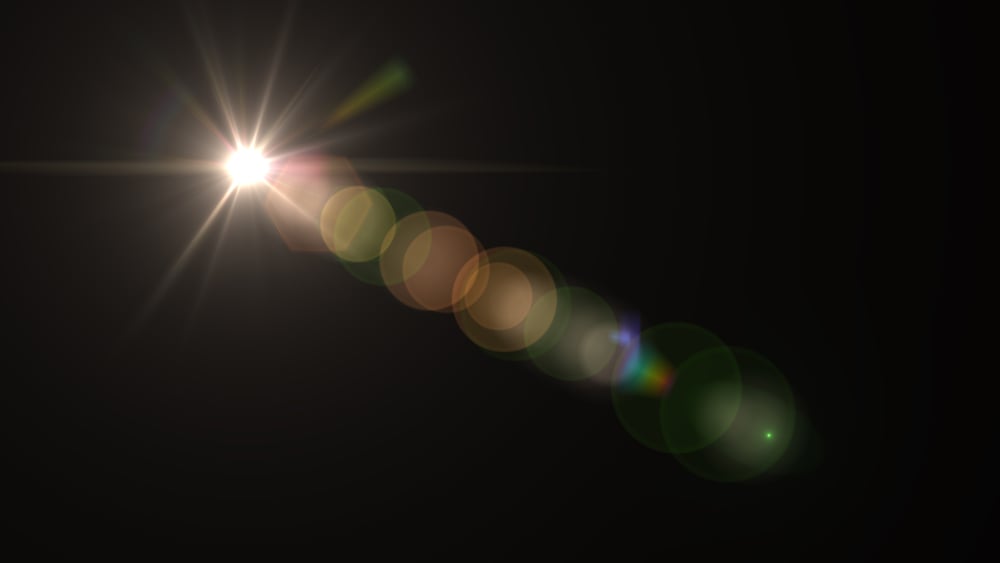
These flares usually occur when the light source is slightly outside the normal viewing angle of the lens. Internal reflections occur when light enters on one of the sides, causing a cascading set of colorful spirals and circles to form on the image.
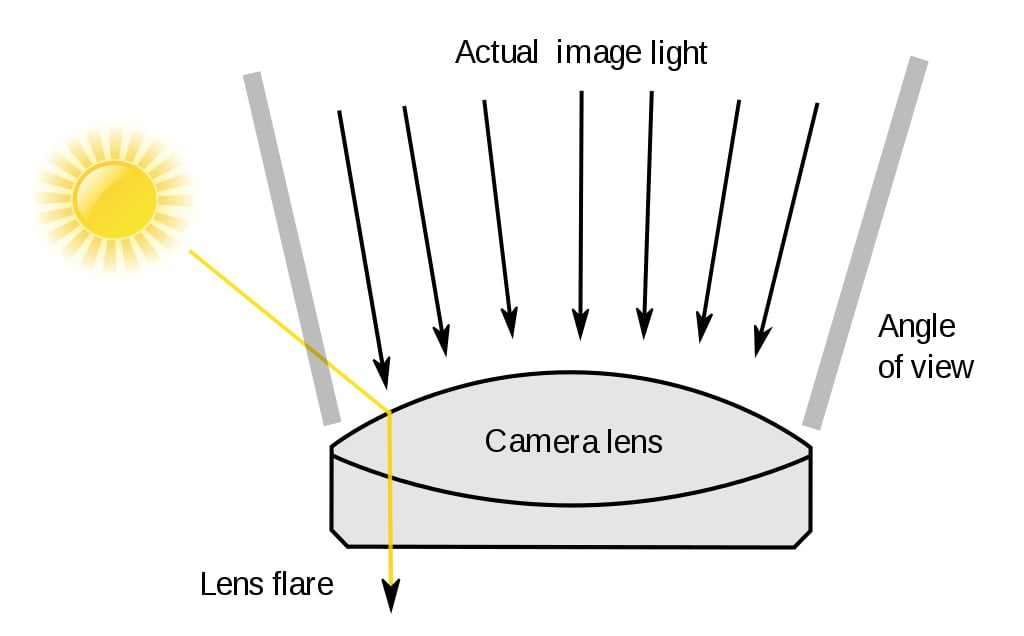
This effect increases and decreases as the angle of the light source is changed and can be seen as the camera is moved, which makes the flare move with the light source. The shapes of the flare depend on the shape of the aperture. If the lens has a 6-bladed aperture, the flare may appear as a hexagonal pattern.
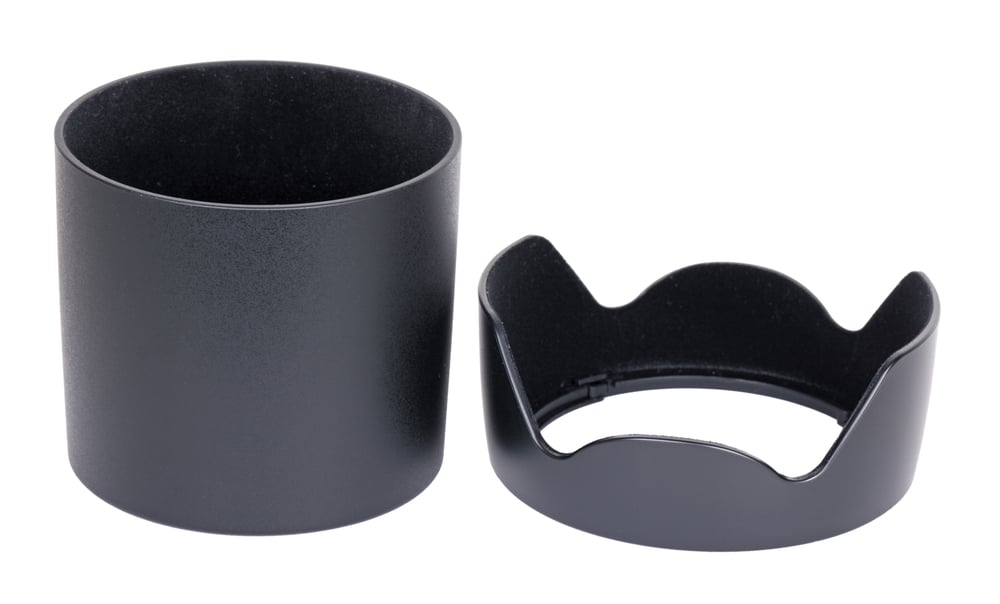
When the sun is not in the camera view, the haze can still whitewash the image. The haze can be reduced by shading the lens with a lens hood, which minimizes the glare. Filters can also be attached to reduce lens flare when shooting outside in bright conditions.
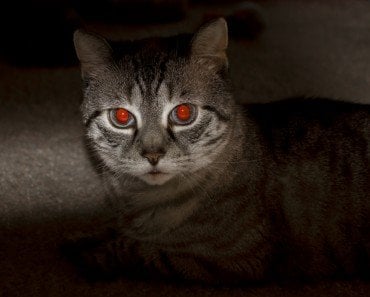
The human eye is also capable of producing similar internal scattering, which can be seen when looking at very bright lights or highly reflective surfaces. Eyelashes can sometimes produce flare-like irregularities, but they may also be caused due to the diffraction of light.
It is usually advised to avoid natural lens flare, even if one desires for them to make it into the final photo. They can be added during post-processing, which provides a higher degree of control in managing the flares to make the image look more natural.
Also Read: Why Does Squinting At A Light Make A Plus Sign Shape?
Deliberately Recreating Lens Flare
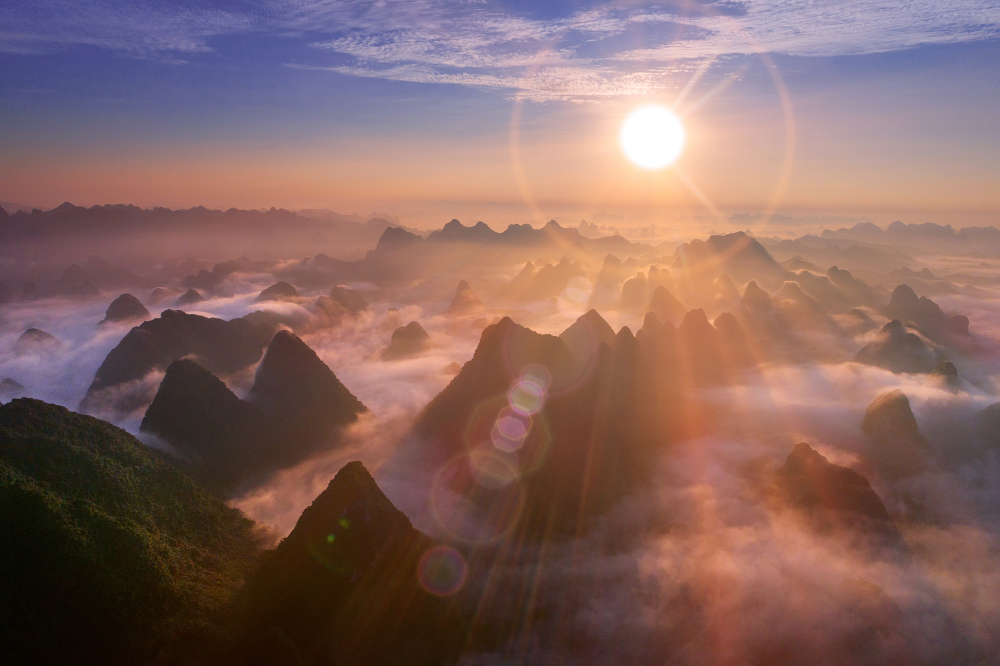
When used in a controlled setting, lens flare adds a natural and realistic look not only to images, but also videos. They are also used to invoke a sense of drama in a scene. There are two ways to recreate lens flares: actually shooting a real lens flare naturally or adding one to images with post-processing software like Adobe Photoshop and Lightroom.
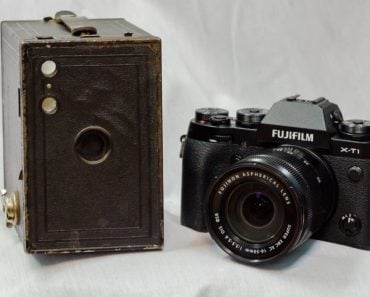
If you’re one of the no-filter, all-natural types, you will want to achieve this effect realistically in an outdoor setting. While shooting a real lens flare, you will need a bright source of light, which could be the sun, moonlight or bright artificial lights. Next, you need a camera with a good zoom lens, as this will increase your chances of catching a flare, since the light scatters more when it interacts with the many faces of the lens. You can control the shape of the flare by choosing the right aperture. One can also experiment with different cameras to achieve a variety of effects. You can change the camera angle to get the desired lens flare, while using a small lens hood will provide more control while reducing the haze.
If you want more control and easier results, you can post-process your images for the desired lens flare. You can add existing presets and tweak the size based on personal preference. There are certain filters that will help you get this effect as well. You can use brushes inside Photoshop to trace the lens flare from the origin of the light source, giving it a natural and realistic look.
Although lens flare can be gnarly in some contexts, it can also add dramatic awe to the scene. The key is to use this tool in moderation and keep the flare subtle and minimal.