Table of Contents (click to expand)
Safely remove hardware is a process in Windows computers that helps to prevent data corruption when external drives are removed. The process essentially tells the computer to wait for all processes accessing a file system to finish before dismounting the file system, which prevents any more read/write operations from occurring.
When I first started using USB flash drives to transfer and store data, I wasn’t very careful about using the “safe to remove hardware” option (in Windows computers) before removing the drives from the CPU cabinet/tower. Then I observed a couple of my friends who always followed this so-called healthy practice.
So, what is actually happening when you instruct your Windows computer to safely remove hardware? And why is it considered “better” for your computer? More importantly, is it necessary to follow this practice?
Recommended Video for you:
“Safe To Remove Hardware”
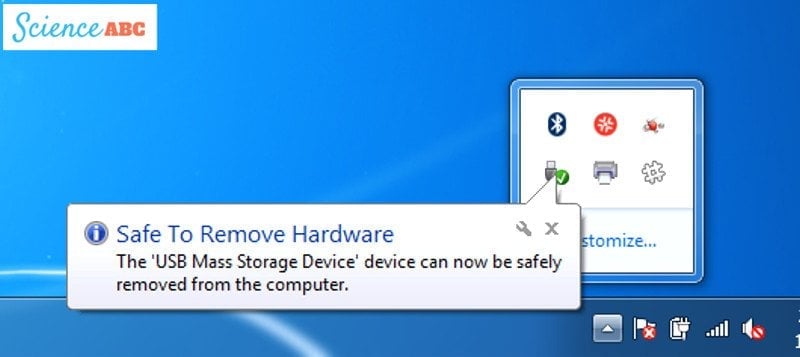
In Windows computers, there is a small icon in the bottom right corner of the task bar (system tray), which, when clicked (once), shows a small menu.
There’s an item in this menu that lets you inform your computer that you wish to safely remove your external drive, such as a USB flash drive (i.e., pendrive or data stick), external hard drive etc. When you select that item, your computer displays a pop-up telling you that it’s safe to remove the hardware you want to eject from the port.
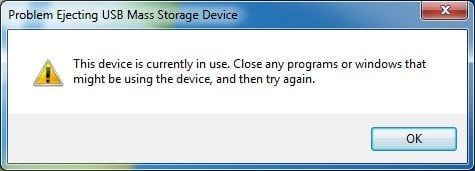
If the system doesn’t show this pop-up, then your drive is probably still in use, or is being accessed by some program on the computer. If this is the case, instead of the pop-up, the system will display a dialog box, telling you that you can’t remove the hardware because it’s still in use.
Also Read: Where Do Deleted Files Go In A Computer?
What Happens When You Select The “Safely Remove Hardware” Option?
When you move data from one drive to another (e.g., a USB flash drive to an external hard drive), it takes some time, depending on how much data you are moving and how fast your computer is.
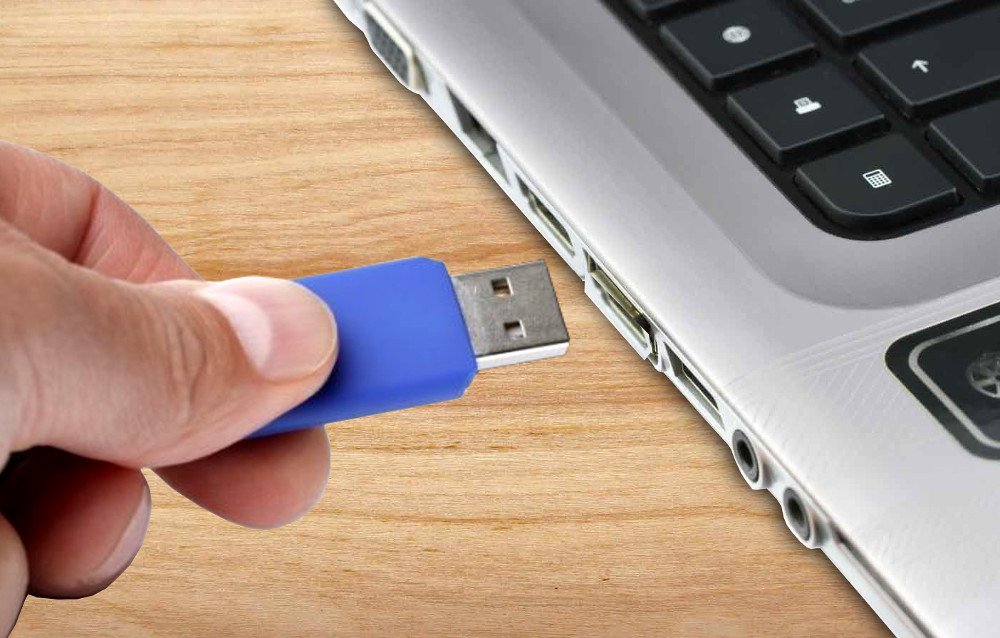
Suppose you start copying a few large video files to your USB drive, but before they are completely written (i.e., the progress bar has reached 100%) on the latter, you suddenly eject the USB drive from its slot. This might lead to a ‘corruption’ of the data on the USB drive. Data corruption simply means that the data you copied to the USB drive could not be properly written, and could therefore potentially be unreadable when accessed later.
When you click on the “safely remove hardware” option, you basically instruct the operating system to wait for all processes accessing a file system to finish, and then dismount the file system, which prevents any more read/write operations for the external drive. If, however, you choose to skip this step, i.e., not click on “safely remove hardware” – especially when data is being written on it – then it might potentially lead to data corruption and data loss on the external drive.
However, Windows computers can also use what’s called a ‘write cache’, which means that when something needs to be written on an external drive, it’s not written immediately; rather, the system checks whether the user wants to write more data onto the external drive. It’s like a bus waiting for more passengers before departing from its stop. The option of write caching has to be enabled by the user of a Windows computer.
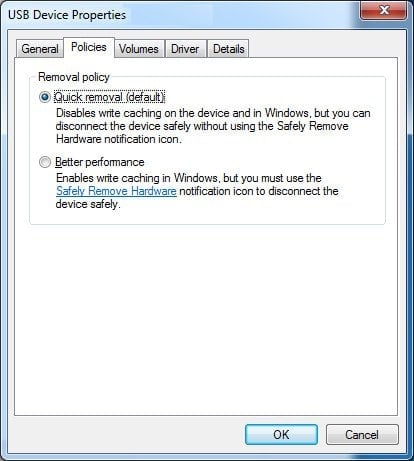
If you select this option (“Better performance” in the screenshot above), Windows will cache data instead of writing it immediately to the external device. While this approach certainly improves the performance of the drive, it also makes data corruption much more likely if the device is removed without using the “safely remove hardware” option.
All in all, you don’t necessarily have to take the “safely remove hardware” approach; you can eject your device by skipping that step and it won’t even lead to data corruption (in most cases). However, if you have enabled “write cache”, then it’s imperative that you take the “safely remove hardware” route to prevent data loss and corruption. Even if you haven’t enabled “write cache”, telling the computer that you are going to remove hardware before actually unplugging it is a good practice. There’s no harm in having a bit more patience!
Also Read: Why Do Transfer Rates Vary When Copying A File From PC To USB Stick And Vice-Versa?